Shared Documents
Document libraries, such as Shared Documents or OneDrive, are the perfect place to store and share files. Whether documents are private to you or public to the world, document libraries allow you to edit, share, and manage your files from any location.
Tips
Collaborate with other users in real time to edit documents together.
Sync any document library with your computer, smartphone or laptop. Edit files using the tools you're used to, even when you don't have internet access.
Access Shared Documents
To view Shared Documents:
- Shared Documents often display as Documents or Publications on a District or School site's home page.

- You can click on a document to view it.
To view the list of documents:
- Click the Publications (or Documents) heading to access the Publications page. (For Class sites, see Shared Documents for Class Sites).
- A list of documents displays:
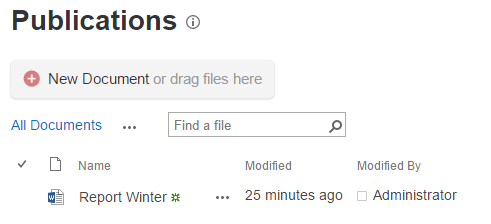
- From here, you can work with the files and their properties in more detail.
Follow Shared Documents
Follow any document on the portal to more easily find it again, access a frequently used file, or save an important doc for later. Followed files can be accessed from your OneDrive under Followed Documents.
To follow a document:
- Click the ellipses (...) beside the document name.
- Click FOLLOW.

- The document is linked to your OneDrive and a pop-up box displays that you are now following this document.
Accessing Followed Documents
To access documents you are following:
- Go to your My Site page.
- In the site navigation bar, click OneDrive.
- Click the Followed Documents link (beneath your photo).
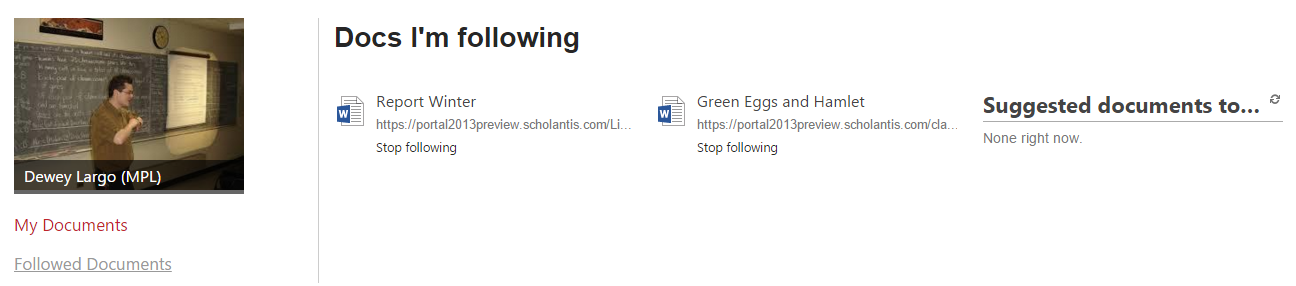
- Your list of Followed Documents displays.
Working with Files
On the Documents page, individual documents can be viewed, edited, shared or deleted using the item menu.
To access the item menu:
- Click the ellipses (...) beside the document name.
- Then click the ellipses at the bottom of the pop-up to access the edit menu.

- From the edit menu, you can do the following:
| Item | Description |
|---|---|
| View Properties | Displays the document properties, such as who uploaded or created the document and when. |
| Edit Properties | Displays a pop-up box where you can change the file name or Title. Click the Save button to save your changes. |
| View in Browser | View the document in your web browser. |
| Edit in Browser | Opens the document or file for editing right in your browser window. |
| Check Out | Check the document out so you can work on it. You can check the document back in to share or back up your changes. |
| Version History | View the version history of the document. |
| Compliance Details | For Advanced users only. |
| Workflows |
For Advanced users only. |
| Download a Copy | Allows you to save a copy of the file to your computer. |
| Shared With | Opens a pop-up box that shows you who has access to the file. Depending on your own permissions, you can also add or revoke people's access from here. |
| Delete | Deletes the file. |
Create Documents
New Word, Excel, PowerPoint, and OneNote documents can be created in the browser using Office Online. You can also use folders to organize your documents.

To create a new document:
- Click the New Document link.
- Select the type of file you wish to create (e.g., Word, Excel, Powerpoint, or OneNote.)
- Create and save the file.
Add Documents
Existing files can be added a number of different ways from the Documents page:
- Drag and drop one or more documents from your computer to the library.
- From the New Document menu select UPLOAD EXISTING FILE and select a file from your computer.
- Easily add documents by syncing files to your computer or device.

Tip
When creating content for the general public all files should be converted to the PDF format.
This can be easily achieved using the tools available in Word, Excel and PowerPoint 2013 from within the Export section of the menu.
Delete Documents
Files can be deleted a number of different ways from the Documents page:
- Use the document properties item menu (ellipsis). Click the ellipsis (...) beside the document name, then click the ellipsis (...) in the pop-up menu. Then select Delete from the document properties item menu.

- Delete documents by syncing files to your computer or device.
- Select the file or files from the list and click Delete Document from the FILES ribbon tab.

Shared Documents on Class Sites
Shared documents work differently on class sites than they do on other sites such as school, district or staff room sites. For more information, see Shared Documents for Class Sites.