Public Site
Public Site creates a public web site for teachers. Typically, any staff member can create a public site. Some things you'll typically find on Public Sites:
- A place to upload a banner and personal photo
- A teacher bio or introduction
- A place for text, photographs and other information about a teacher
- A list of classes and assignments for a teacher and links. Note: even non-public classes and assignments will display. Non-public classes will not be accessible by anonymous users. Public classes will be. For more information, see View Assignments
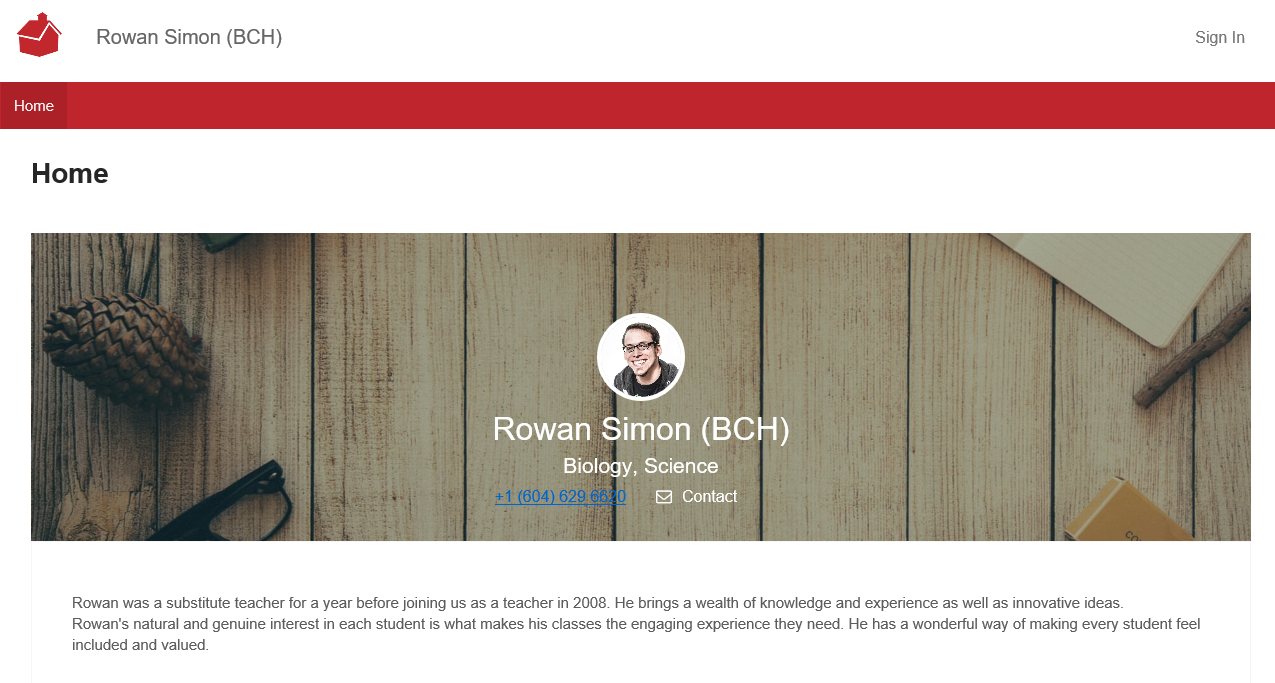
By default, your public site has a banner image, with a place for a personal picture. Your contact information displays, with a contact form for external visitors or your email address to those already logged into your school or district site. There's also an Edit Content area and a list of your classes with their assignments as well as an area for Featured Links. If your site does not have a profile picture or banner image, you may need to enable it. See Turning the Teacher Profile On or Off, below.
You can easily add more features using the Settings Menu.
At this time, only staff or teachers can have a Public Site. Students can have Student Portfolios.
Public Site Tips
- Teachers can use the Settings Menu to easily, and completely, customize their public site.
- The Public Site is public to the internet when first created.
- Just like OneDrive or Dropbox, teachers can Sync and edit their files on a computer or mobile device.
Create a Public Site
To create a Public Site:
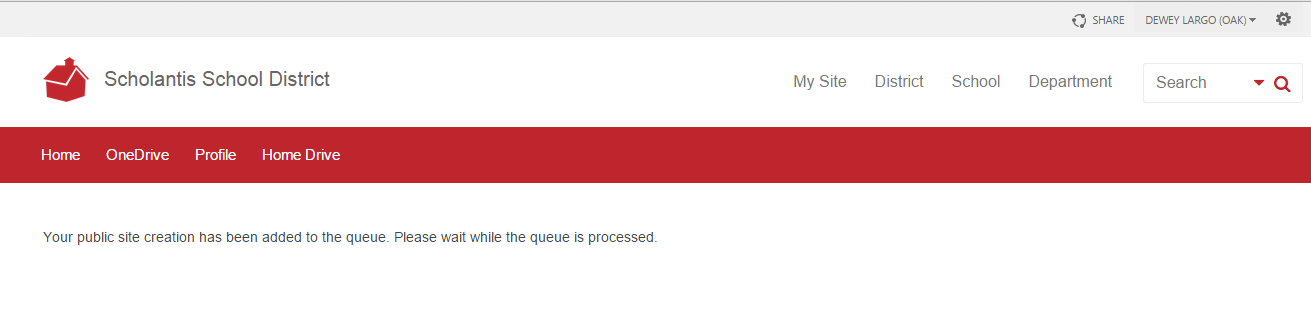
- From your My Site - Home page, click the Public Site link on the navigation bar.
- Your site will be put into a queue. Check back in approximately five minutes, to see if it has been created.
Manage Public Site
To manage your Public Site:
- From your My Site - Home page, click the Public Site link to view your public site.
- From the Utility Links on the top of the page, click the SETTINGS link to access the settings menu.
- Select Features from the drop-down menu to access the Features page.
- From this page, features can be enabled or disabled, much the same as with Class or Group sites. See Create a Class or Group Site for a list of features that can be enabled as well as instructions for working with each tab.
- When you are finished editing your site's features, click the Update button to update your site.
Turning the Teacher Profile On or Off
If you do not see your banner image and profile photo on your Public Site, you may need to enable it. Conversely, you may wish to remove the banner image and profile photo. Follow these steps to enable or disable the Public Profile.
To enable or disable the teacher profile:
- From your My Site - Home page, click the Public Site link to view your public site.
- From the Utility Links on the top of the page, click the SETTINGS link and select Features from the settings menu to access the Features page.
- To enable the banner image and profile photo, select the Public Profile checkbox.
- To disable (hide) the banner image and profile photo, clear the Public Profile checkbox.
- Click the Update button to save and update the changes your site.
Delete Public Site
To delete your Public Site:
- From your My Site - Home page, click the Public Site link to view your public site.
- From the Utility Links on the top of the page, click the SETTINGS link and select Features from the settings menu to access the Features page.
- Click the Delete Public link on the bottom left side. A confirmation page displays:
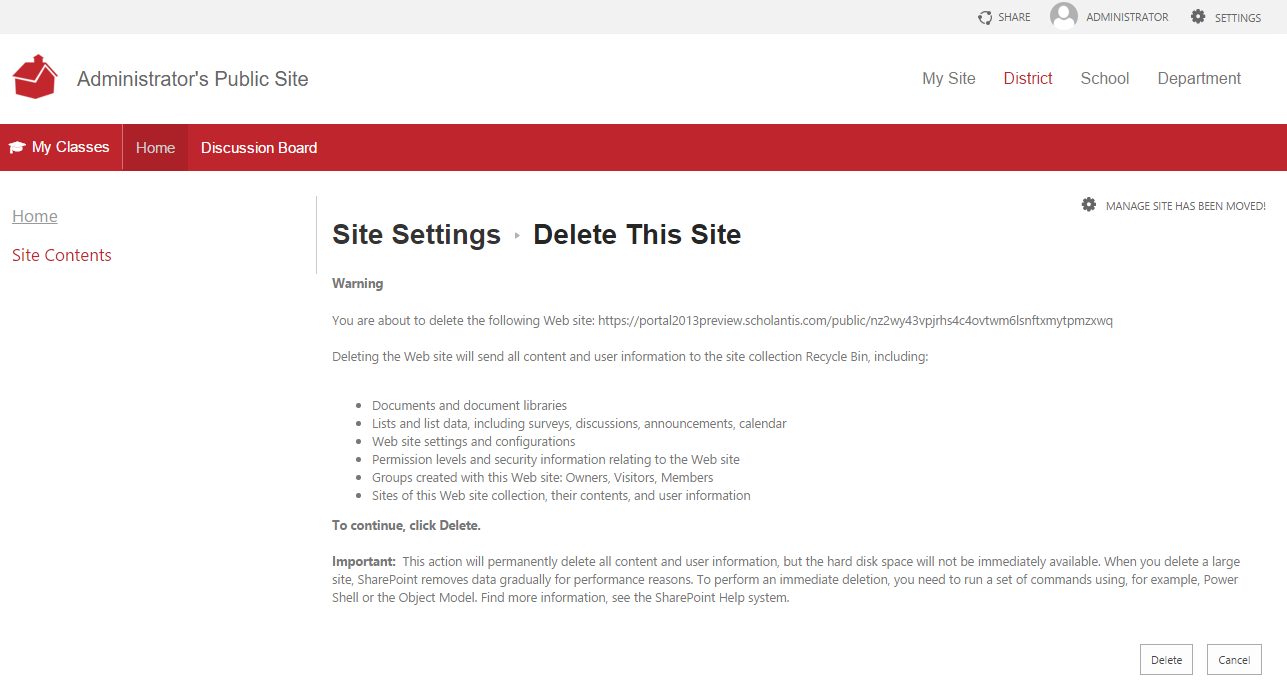
- Click the Delete button to confirm the deletion.